Introduction: Sliding Reviews Card in HTML
As you traverse the landscape of web development, mastering the art of creating engaging user interfaces becomes paramount. One such captivating element you might have come across is a sliding reviews card. This tutorial will unravel the process of crafting an enticing sliding reviews card in HTML, CSS, and a dash of JavaScript.
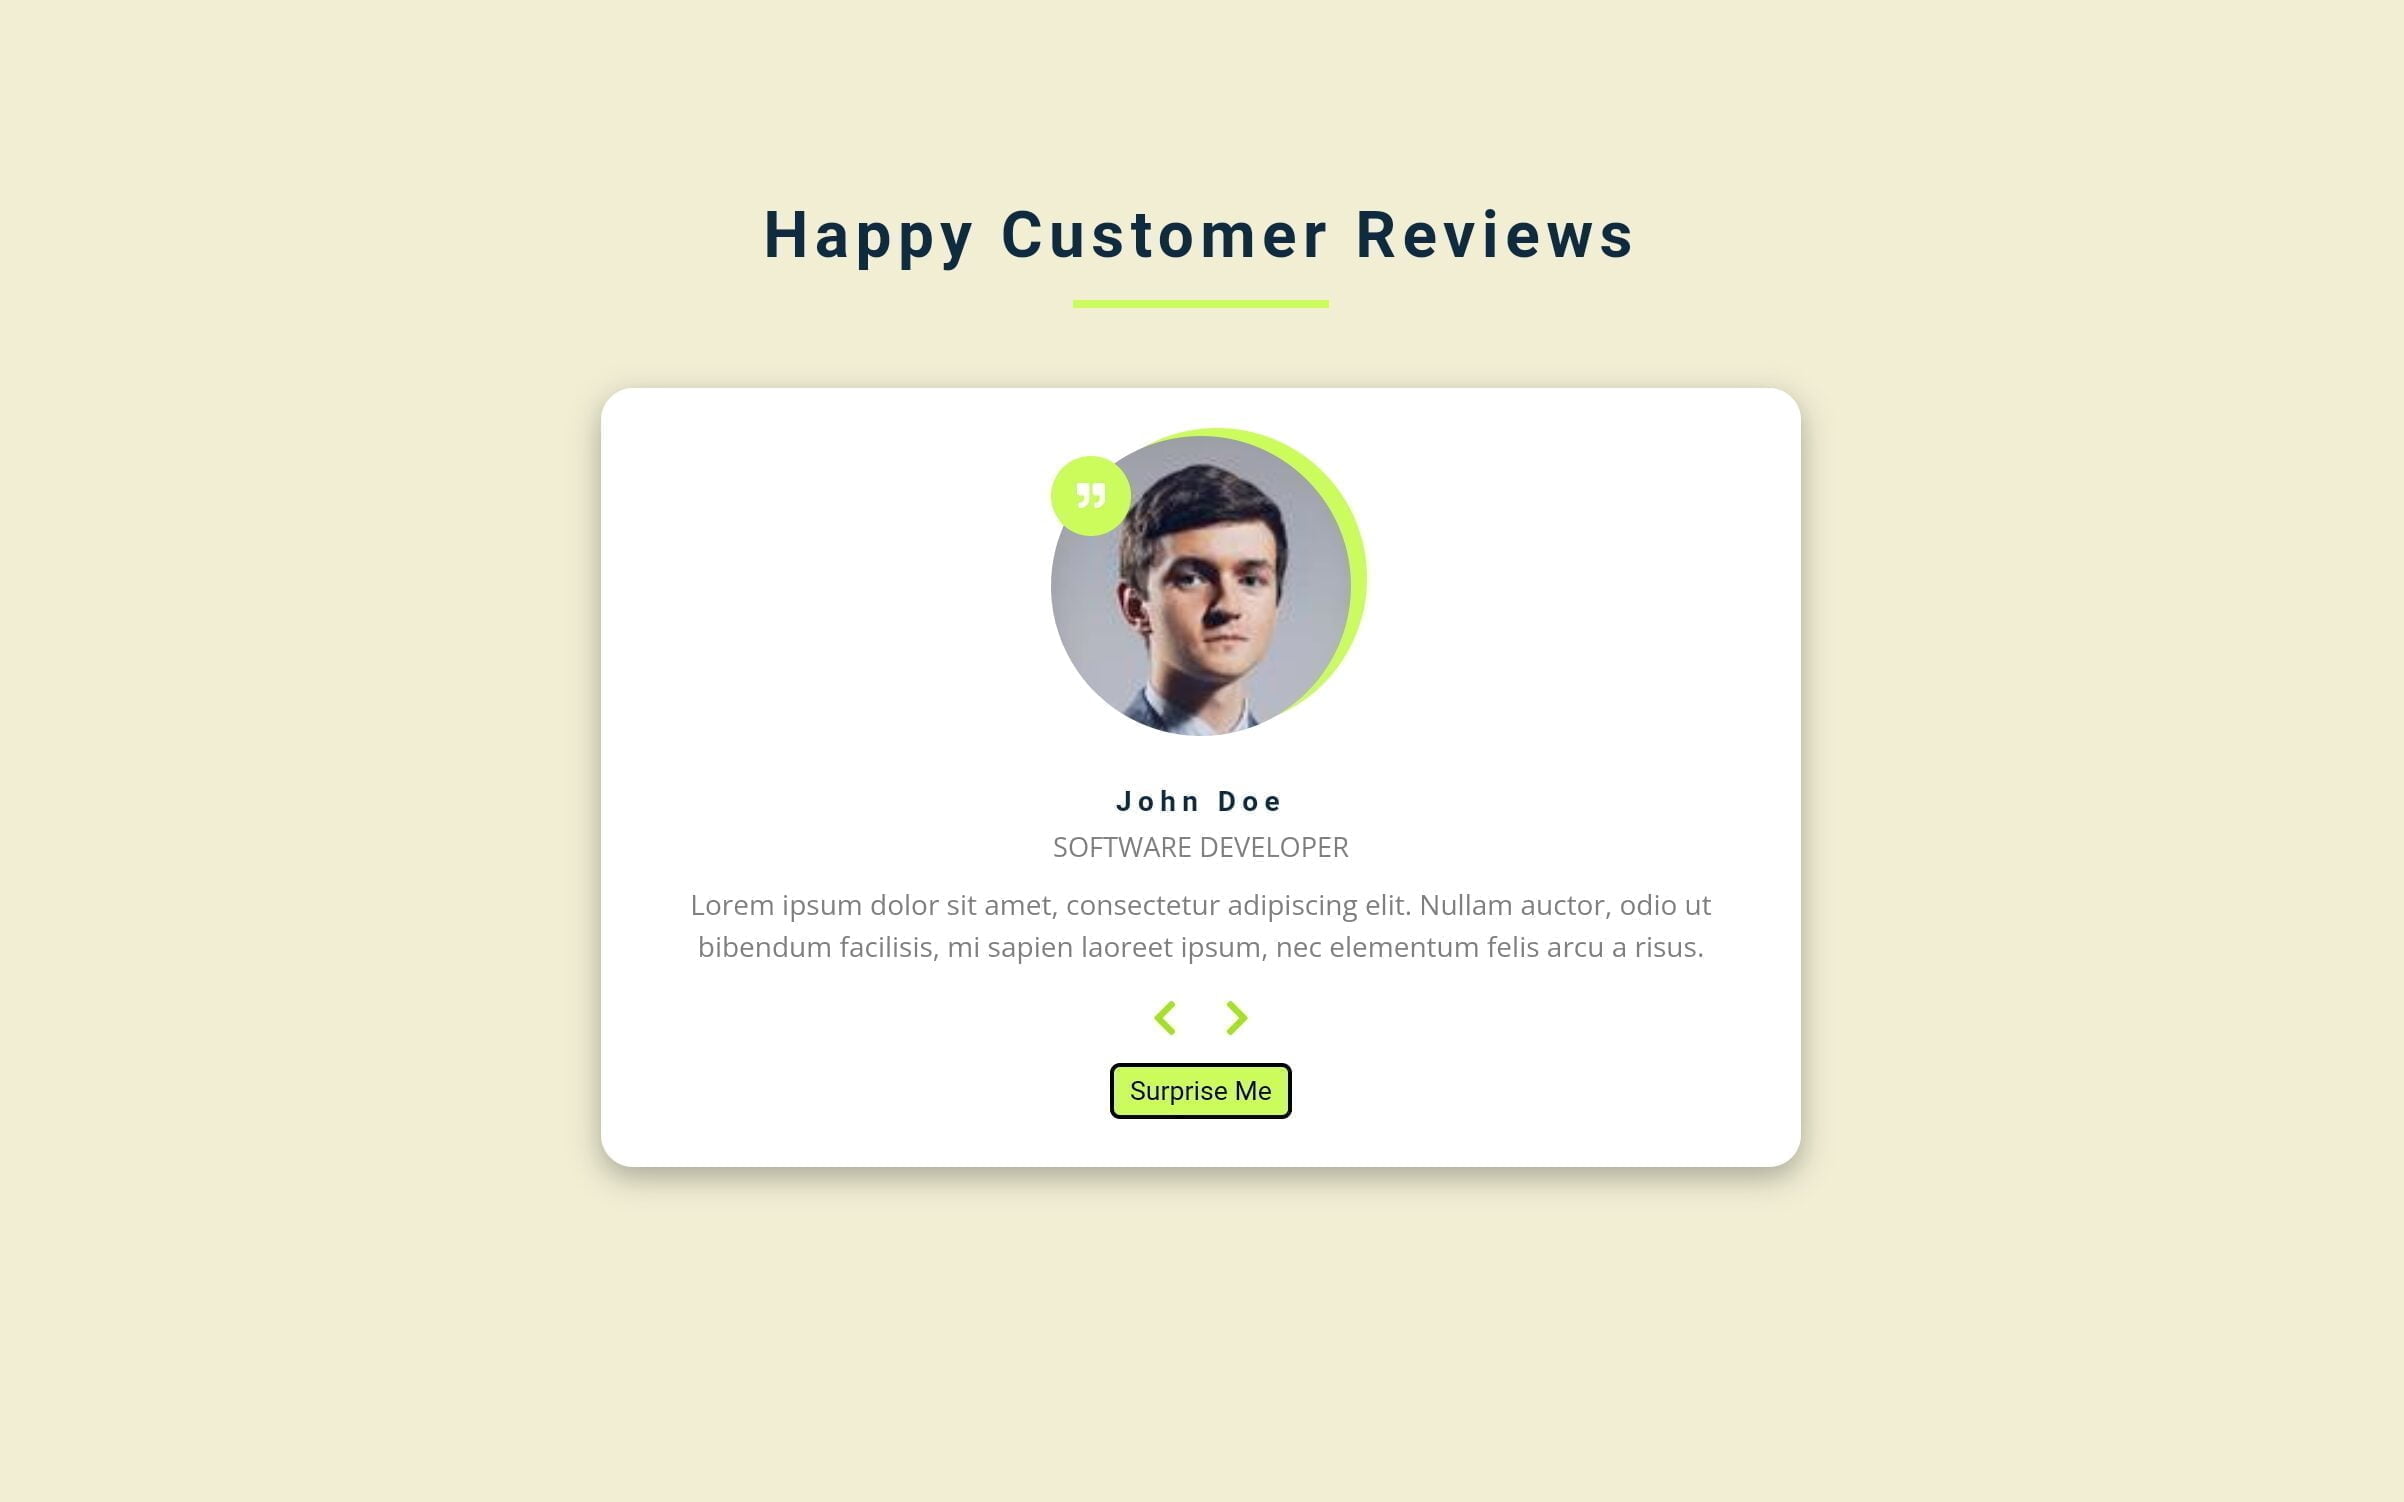
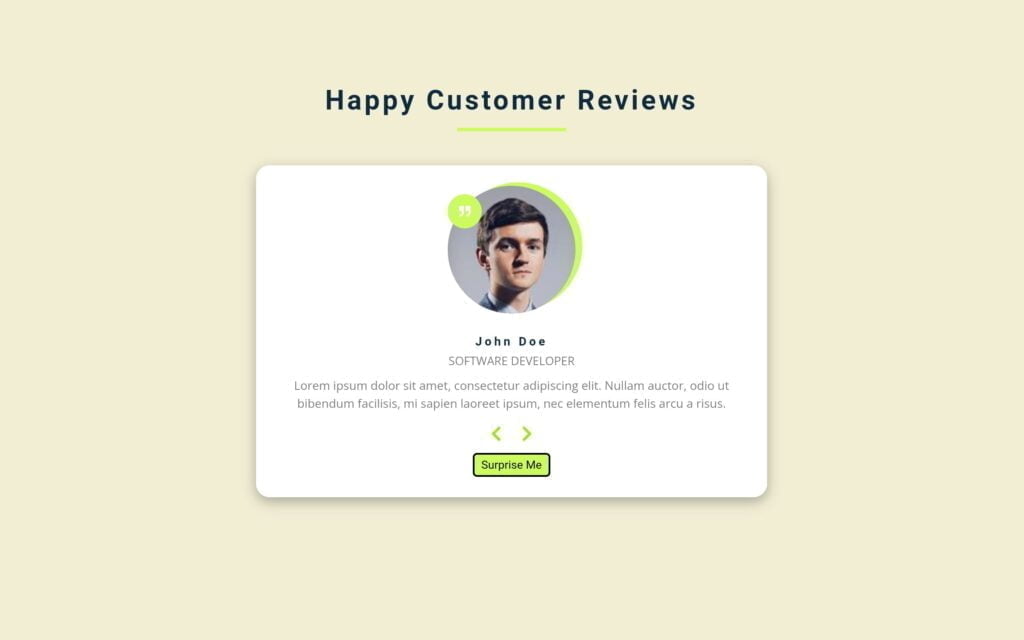
Before diving into code, let’s understand what we’re building. A sliding reviews card is an interactive component showcasing testimonials or reviews. Our card will display user images, names, positions, and their feedback. As a user hovers over the card, a subtle animation will enhance the interaction.
4 Steps to Create Sliding Reviews Cards in HTML, CSS & JavaScript
If you want to create a beutiful responsive Sliding Reviews Card in HTML, CSS & JavaScript then follow these step-by-step guide –
Step 1: Setting Up the Environment:
Begin by organizing your workspace. Create a folder and name it as per your preference. Inside, create an index.html file for the main structure, a style.css file for styling, a script.js file for the program, and remember to download the necessary images or resources.
Step 2: Writing HTML Markup:
In the index.html file, assemble the foundation using semantic HTML elements. Employ div tags for structural layout, img for images, and appropriate headings and paragraphs to encapsulate review data.
<!DOCTYPE html>
<html lang="en">

<head>
    <meta charset="UTF-8">
    <meta name="viewport" content="width=device-width, initial-scale=1.0">
    <link rel="stylesheet" href="https://cdnjs.cloudflare.com/ajax/libs/font-awesome/5.14.0/css/all.min.css" />
</head>

<body>
    <main>
        <section class="review-container">
            <div class="title-section">
                <h2>happy customer reviews</h2>
                <div class="underline"></div>
            </div>
            <article class="custom-review">
                <div class="review-img-container">
                    <img src="https://images.unsplash.com/photo-1568044852337-9bcc3378fc3c?crop=entropy&cs=srgb&fm=jpg&ixid=MnwxNDU4OXwwfDF8cmFuZG9tfHx8fHx8fHx8MTYyODA4Nzc4OA&ixlib=rb-1.2.1&q=85"
                        id="person-img" alt="" />
                </div>
                <h4 id="review-author">John Doe</h4>
                <p id="review-job">Customer</p>
                <p id="review-info">
                    Lorem ipsum dolor sit amet consectetur adipisicing elit. Iusto
                    asperiores debitis incidunt, eius earum ipsam cupiditate libero?
                    Iste, doloremque nihil?
                </p>
                <div class="button-container">
                    <button class="prev-review-btn">
                        <i class="fas fa-chevron-left"></i>
                    </button>
                    <button class="next-review-btn">
                        <i class="fas fa-chevron-right"></i>
                    </button>
                </div>
                <button class="random-review-btn">surprise me</button>
            </article>
        </section>
    </main>
</body>
</html>
Step 3: Crafting Stylish Reviews:
Head over to the style.css file to infuse life into your reviews card. Utilize CSS properties judiciously to style each component, ensuring responsiveness and an aesthetic appeal. Experiment with colors, borders, shadows, and transitions to refine the visual experience.
/* Importing Google font - Poppins */
@import url('https://fonts.googleapis.com/css2?family=Poppins:wght@200;300;400;500;600;700;800;900&display=swap');

        *,
        ::after,
        ::before {
            margin: 0;
            padding: 0;
            box-sizing: border-box;
        }

        body {
            font-family: "Open Sans", sans-serif;
            background: #f1eed4;
            color: hsl(209, 61%, 16%);
            line-height: 1.5;
            font-size: 0.875rem;
        }

        h2,
        h4 {
            letter-spacing: 0.2rem;
            text-transform: capitalize;
            line-height: 1.25;
            margin-bottom: 0.75rem;
            font-family: "Roboto", sans-serif;
        }

        h2 {
            font-size: 2rem;
        }

        h4 {
            font-size: 0.875rem;
        }

        p {
            margin-bottom: 1.25rem;
            color: gray;
        }

        main {
            min-height: 90vh;
            display: grid;
            place-items: center;
        }

        .title-section {
            text-align: center;
            margin-top: 0.1rem;
            margin-bottom: 2.5rem;
        }

        .underline {
            height: 0.25rem;
            width: 8rem;
            background: #ccfc5b;
            margin-left: auto;
            margin-right: auto;
        }

        .review-container {
            width: 80vw;
            max-width: 600px;
        }

        .custom-review {
            background: white;
            padding: 1.5rem 2rem;
            border-radius: 1rem;
            box-shadow: 0 5px 15px rgba(0, 0, 0, 0.3);
            transition: box-shadow 0.3s linear;
            text-align: center;
        }

        .custom-review:hover {
            box-shadow: 0 5px 15px rgba(0, 0, 0, 0.1);
        }

        .review-img-container {
            position: relative;
            width: 150px;
            height: 150px;
            border-radius: 50%;
            margin: 0 auto;
            margin-bottom: 1.5rem;
        }

        #person-img {
            width: 100%;
            display: block;
            height: 100%;
            object-fit: cover;
            border-radius: 50%;
            position: relative;
        }

        .review-img-container::after {
            font-family: "Font Awesome 5 Free";
            font-weight: 900;
            content: "\f10e";
            position: absolute;
            top: 0;
            left: 0;
            width: 2.5rem;
            height: 2.5rem;
            display: grid;
            place-items: center;
            border-radius: 50%;
            transform: translateY(25%);
            background: #ccfc5b;
            color: white;
        }

        .review-img-container::before {
            content: "";
            width: 100%;
            height: 100%;
            background: #ccfc5b;
            position: absolute;
            top: -0.25rem;
            right: -0.5rem;
            border-radius: 50%;
        }

        #review-author {
            margin-bottom: 0.25rem;
        }

        #review-job {
            margin-bottom: 0.5rem;
            text-transform: uppercase;
            color: gray;
            font-size: 0.85rem;
        }

        #review-info {
            margin-bottom: 0.75rem;
        }

        .prev-review-btn,
        .next-review-btn {
            color: #a7e419;
            font-size: 1.25rem;
            background: transparent;
            border-color: transparent;
            margin: 0 0.5rem;
            transition: color 0.3s linear;
            cursor: pointer;
        }

        .prev-review-btn:hover,
        .next-review-btn:hover {
            color: black;
        }

        .random-review-btn {
            margin-top: 0.5rem;
            background: #ccfc5b;
            color: black;
            padding: 0.25rem 0.5rem;
            text-transform: capitalize;
            border-radius: 5px;
            transition: background 0.3s linear, color 0.3s linear;
            border: 2px solid black;
            cursor: pointer;
        }

        .random-review-btn:hover {
            background: white;
            color: black;
        }
Step 4: Adding Interactive Elements with JavaScript:
Now, open the script.js file, and input the JavaScript code that is given here, introduce the interactive element using JavaScript. Implement functionality that enables users to navigate through reviews effortlessly. Leverage JavaScript to toggle between different reviews, delivering a seamless sliding effect.
            const reviewsData = [
            {
                id: 1,
                name: "John Doe",
                job: "Software Developer",
                img: "https://randomuser.me/api/portraits/men/1.jpg", // John Doe's image URL
                text: "Lorem ipsum dolor sit amet, consectetur adipiscing elit. Nullam auctor, odio ut bibendum facilisis, mi sapien laoreet ipsum, nec elementum felis arcu a risus.",
            },
            {
                id: 2,
                name: "Mike Smith",
                job: "UX Designer",
                img: "https://randomuser.me/api/portraits/men/2.jpg", // Mike Smith's image URL
                text: "Pellentesque habitant morbi tristique senectus et netus et malesuada fames ac turpis egestas. Ut ac massa a nulla scelerisque fringilla a id augue.",
            },
            {
                id: 3,
                name: "Alex Johnson",
                job: "Data Scientist",
                img: "https://randomuser.me/api/portraits/men/3.jpg", // Alex Johnson's image URL
                text: "Sed at mauris nec mi suscipit gravida. Fusce eu ante augue. Suspendisse sit amet ultrices dolor, a tincidunt elit. Proin vel neque vel odio consectetur malesuada.",
            },
            {
                id: 4,
                name: "David Brown",
                job: "Product Manager",
                img: "https://randomuser.me/api/portraits/men/4.jpg", // David Brown's image URL
                text: "Duis ut dui auctor, convallis velit sit amet, tristique nulla. Phasellus hendrerit ligula et odio accumsan, eu fermentum odio mattis. Aliquam erat volutpat.",
            },
            {
                id: 5,
                name: "Chris Miller",
                job: "Marketing Specialist",
                img: "https://randomuser.me/api/portraits/men/5.jpg", // Chris Miller's image URL
                text: "Integer consequat tincidunt neque, sit amet congue velit euismod a. Ut id mi ut ligula eleifend interdum. Sed tincidunt purus id justo sagittis euismod.",
            }
        ];


        const imgElement = document.getElementById("person-img");
        const authorElement = document.getElementById("review-author");
        const jobElement = document.getElementById("review-job");
        const infoElement = document.getElementById("review-info");

        const prevBtnElement = document.querySelector(".prev-review-btn");
        const nextBtnElement = document.querySelector(".next-review-btn");
        const randomBtnElement = document.querySelector(".random-review-btn");

        let currentReview = 0;

        window.addEventListener("DOMContentLoaded", function () {
            showReview(currentReview);
        });

        function showReview(review) {
            const currentReviewData = reviewsData[review];
            imgElement.src = currentReviewData.img;
            authorElement.textContent = currentReviewData.name;
            jobElement.textContent = currentReviewData.job;
            infoElement.textContent = currentReviewData.text;
        }

        nextBtnElement.addEventListener("click", function () {
            currentReview++;
            if (currentReview > reviewsData.length - 1) {
                currentReview = 0;
            }
            showReview(currentReview);
        });

        prevBtnElement.addEventListener("click", function () {
            currentReview--;
            if (currentReview < 0) {
                currentReview = reviewsData.length - 1;
            }
            showReview(currentReview);
        });

        randomBtnElement.addEventListener("click", function () {
            currentReview = Math.floor(Math.random() * reviewsData.length);
            showReview(currentReview);
        });
Conclusion: Empowering Your Review Showcase
In conclusion, venturing into creating a responsive sliding reviews card in HTML, CSS, and JavaScript to craft an engaging user experience. By following these steps, you’ll delve deeper into web development fundamentals, harnessing the power to curate visually appealing and interactive components.
With this newfound knowledge, you’ve embarked on a journey to sculpt dynamic user interfaces. Remember, practice refines mastery. Start building and let your creativity flow in sculpting the next-gen web experiences!
For your benefit, the total source code of this instructional exercise is accessible for download by clicking the Download Code button. Moreover, experience a live exhibit of these responsive Sliding Reviews Cards in HTML, CSS & JavaScript by getting to the View Live button. Happy Coding!
Note: Keep in mind that the way to dominate coding is practice. To enhance your skills in HTML & CSS, we recommend recreating other useful website elements such as Card Design, Registration Forms, Navigation, Login Forms, etc.


