

Welcome to the comprehensive tutorial on crafting the simplest image sliders in JavaScript! In this guide, we’ll embark on a journey through web development, focusing on JavaScript to create straightforward yet effective image sliders for your website. Whether you’re a coding enthusiast or a beginner eager to learn, this tutorial will equip you with the skills to implement engaging and simplest Image Sliders seamlessly.
Get ready to enhance your web projects as we break down the process into three easy-to-follow steps. From setting up the HTML structure to adding interactive features with JavaScript, we’ll guide you through each stage of building the simplest image sliders.
Let’s dive into the world of JavaScript and unlock the potential of Simplest Image Sliders for your web development endeavors. Get ready to elevate your websites with dynamic and user-friendly image displays. Happy coding!
Join Our Telegram Channel to Download the Project Source Code: Click Here
Steps to Set Up the Project: Simplest Image Sliders
Please follow this Step-by-Step Guide to Create and Setup the Simplest Image Sliders using JavaScript, HTML and CSS —
Step 1: Project Initialization
For this Simplest Image Sliders, first you need to Create a new folder for your project and name it whatever you prefer. Inside this folder, create three files with the name of
index.htmlfor structure your project.style.cssto give a visual stylish interface.script.jsfor navigate the project functionality.
Step 2: HTML Structure
Open index.html and start with the basic HTML structure. Copy and paste the provided HTML code into your file. This code sets up the necessary elements and includes the Font Awesome library for arrow icons.
<!DOCTYPE html>
<html lang="en">

<head>
    <meta charset="UTF-8">
    <meta name="viewport" content="width=device-width, initial-scale=1.0">
    <title>imgage slider</title>
    <link rel="stylesheet" href="https://cdnjs.cloudflare.com/ajax/libs/font-awesome/6.5.1/css/all.min.css"
        integrity="sha512-DTOQO9RWCH3ppGqcWaEA1BIZOC6xxalwEsw9c2QQeAIftl+Vegovlnee1c9QX4TctnWMn13TZye+giMm8e2LwA=="
        crossorigin="anonymous" referrerpolicy="no-referrer" />
</head>

<body>
    <div class="slider">
        <div class="controls">
            <div class="up">
                <i class="fa fa-chevron-up"></i>
            </div>
            <div class="down">
                <i class="fa fa-chevron-down"></i>
            </div>
        </div>

        <div class="wrapper">
            <div class="left">
                <div>
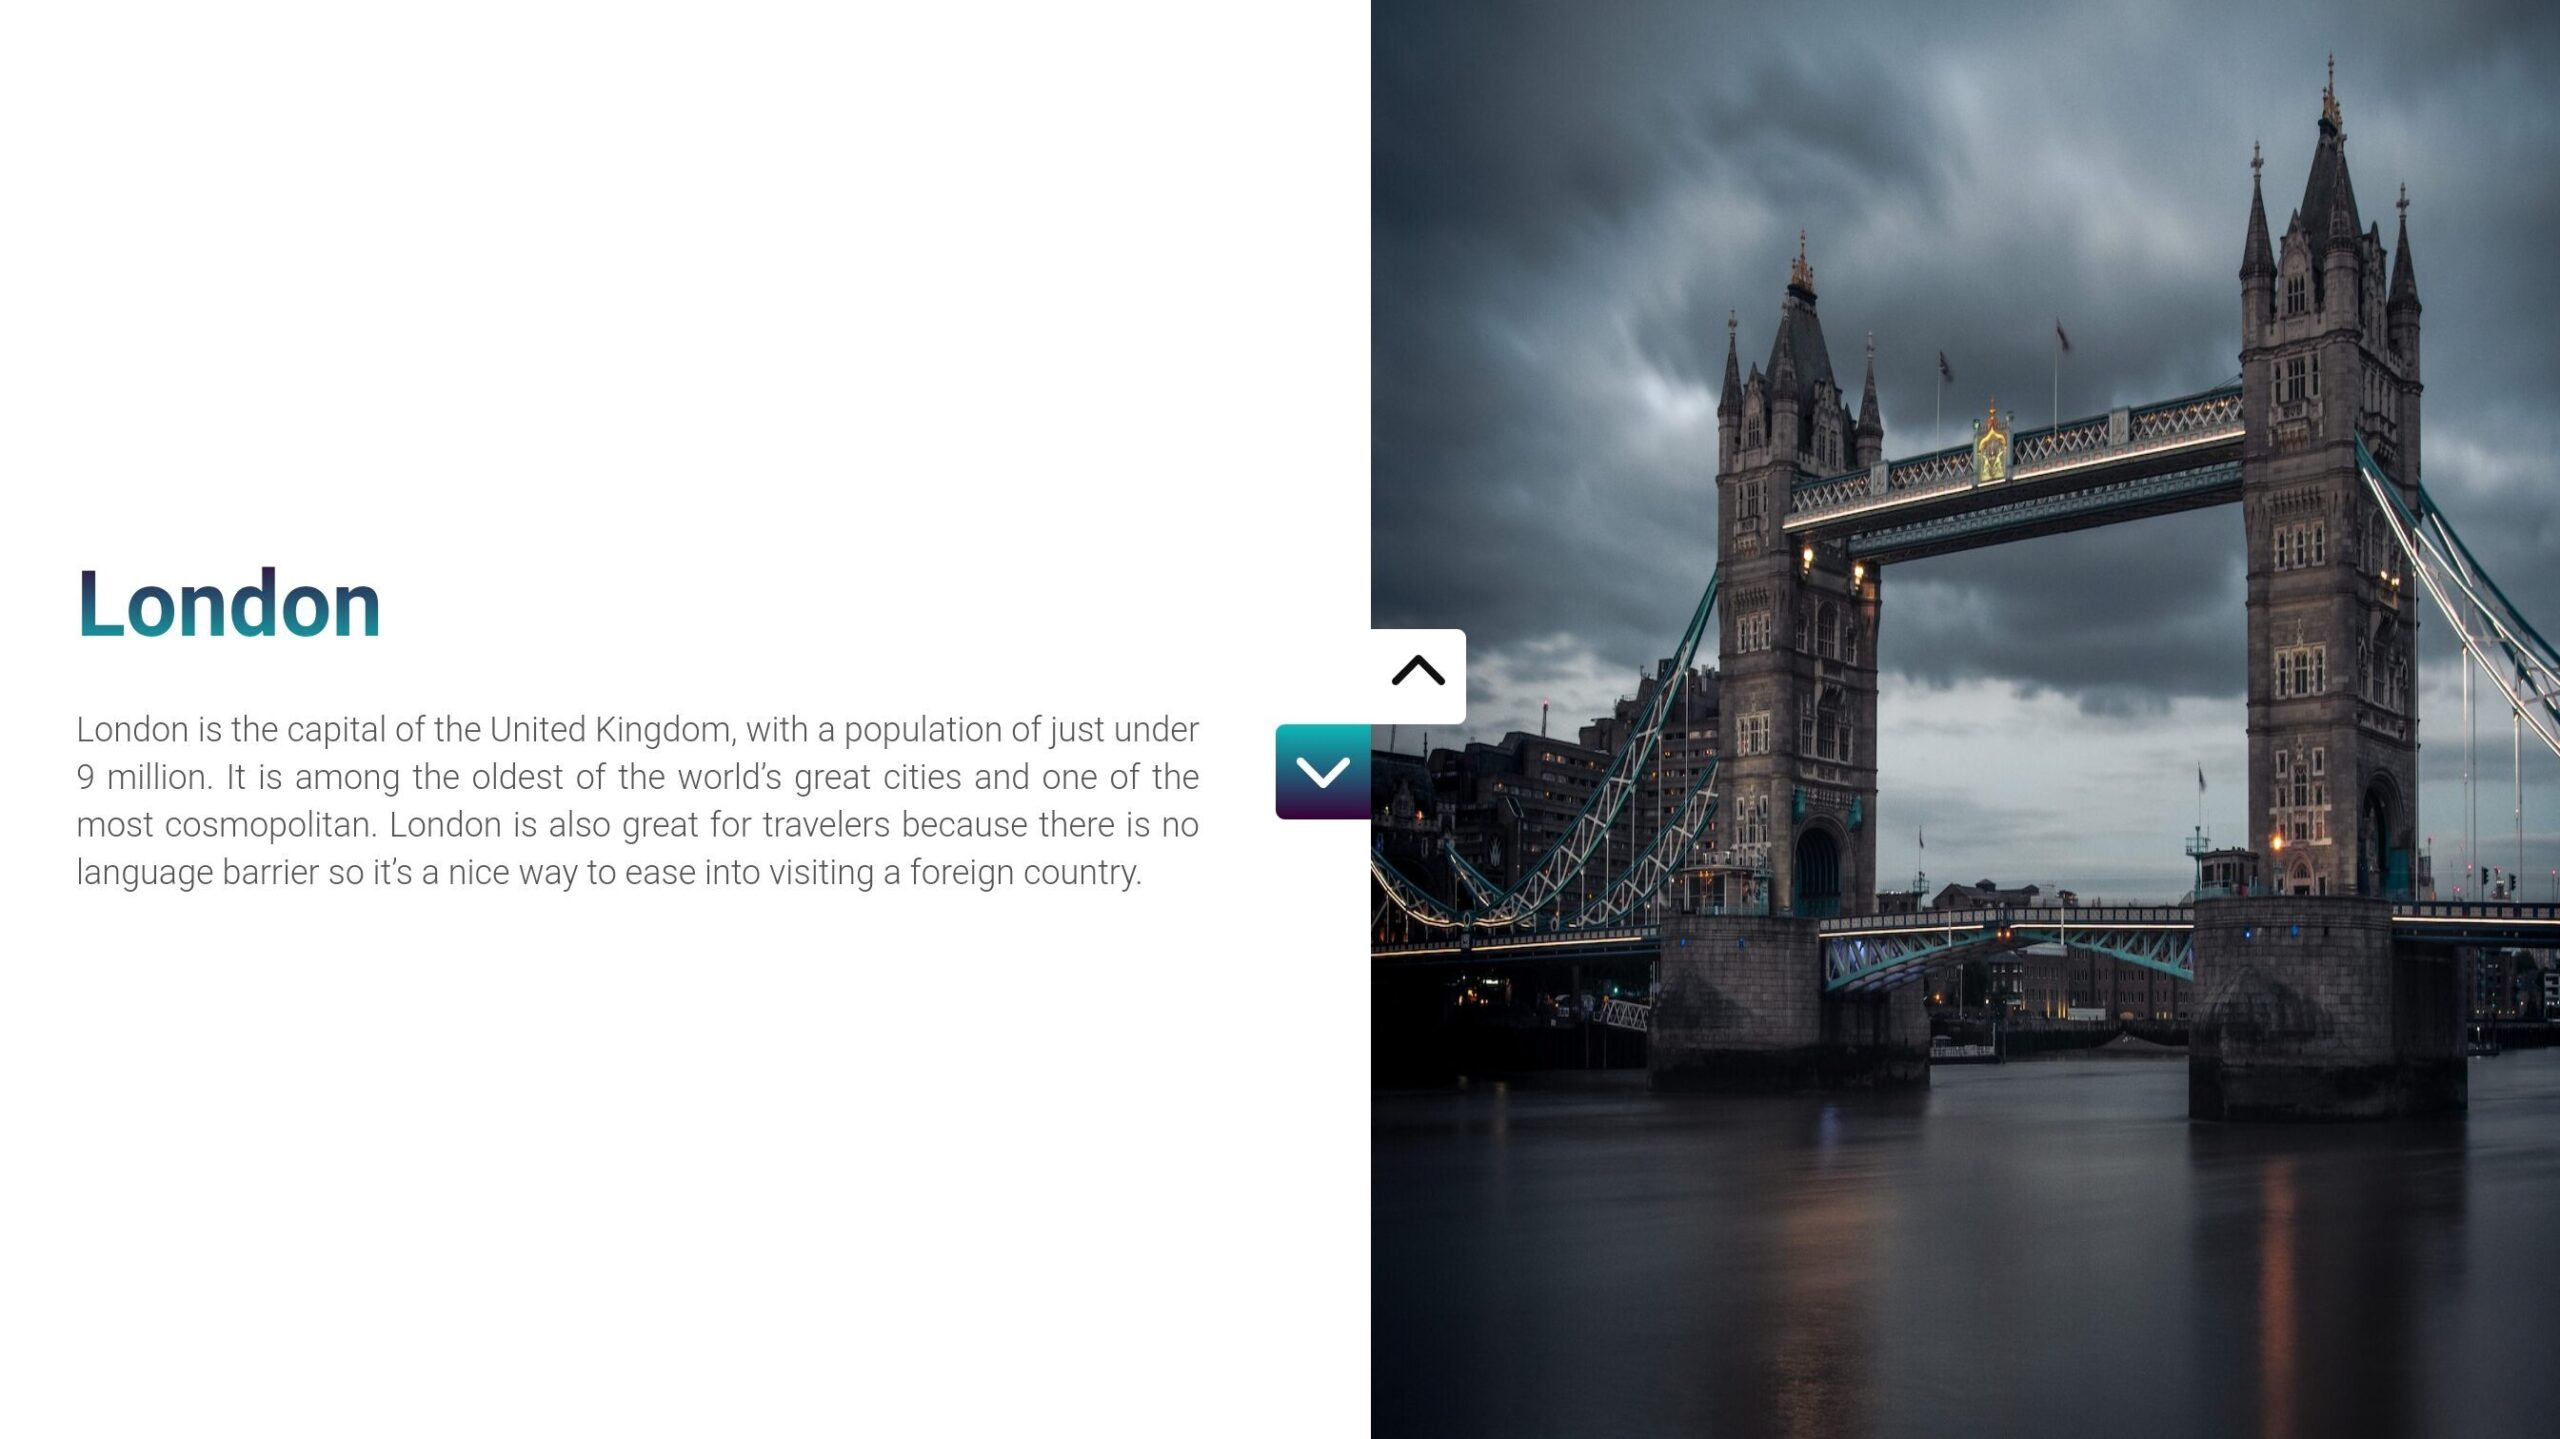
                    <h2>London</h2>
                    <p>
                        London is the capital of the United Kingdom, with a population of
                        just under 9 million. It is among the oldest of the world’s great
                        cities and one of the most cosmopolitan. London is also great for
                        travelers because there is no language barrier so it’s a nice way
                        to ease into visiting a foreign country.
                    </p>
                </div>

                <div>
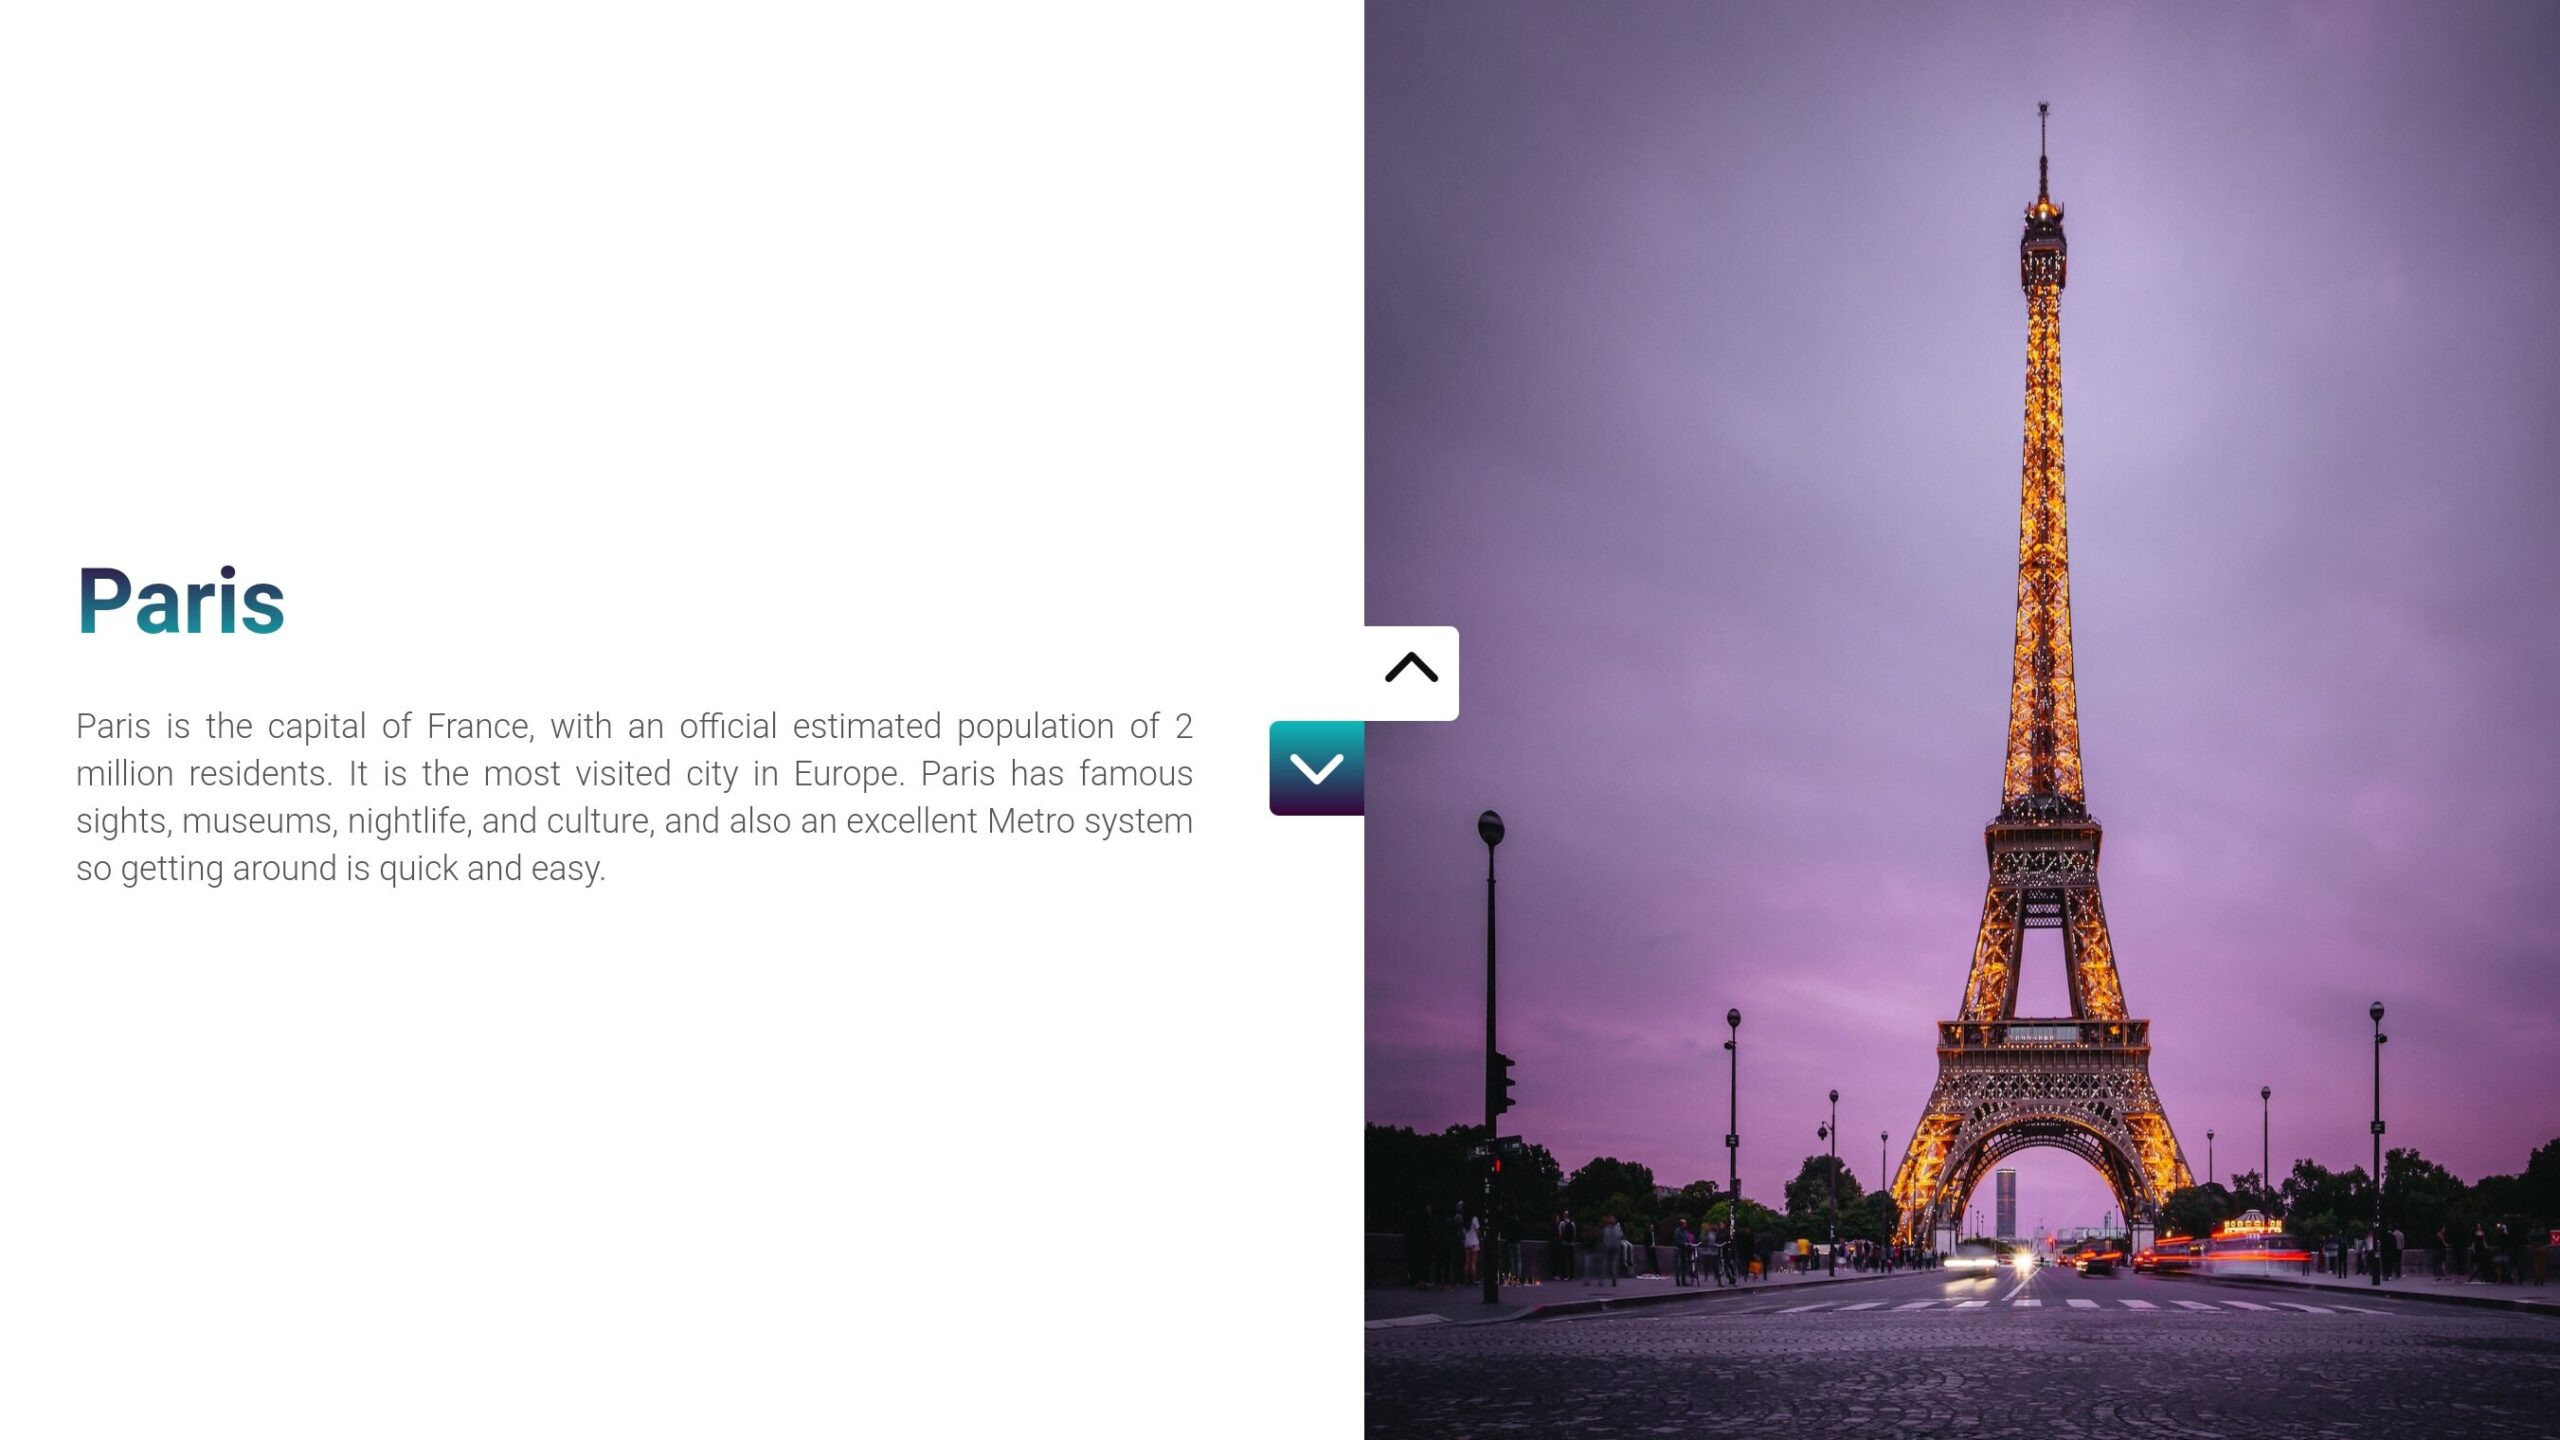
                    <h2>Paris</h2>
                    <p>
                        Paris is the capital of France, with an official estimated
                        population of 2 million residents. It is the most visited city in
                        Europe. Paris has famous sights, museums, nightlife, and culture,
                        and also an excellent Metro system so getting around is quick and
                        easy.
                    </p>
                </div>

                <div>
                    <h2>Istanbul</h2>
                    <p>
                        Istanbul is the largest city in Turkey, serving as the country's
                        economic, cultural and historic hub. It has a population of over
                        16 million residents. Istanbul, which spreads across two
                        continents and between two seas, is a city of empires past. The
                        Hagia Sophia, Blue Mosque, Topkapi Palace, and Galata Tower are
                        just some of the many historic structures scattered throughout the
                        city.
                    </p>
                </div>

                <div>
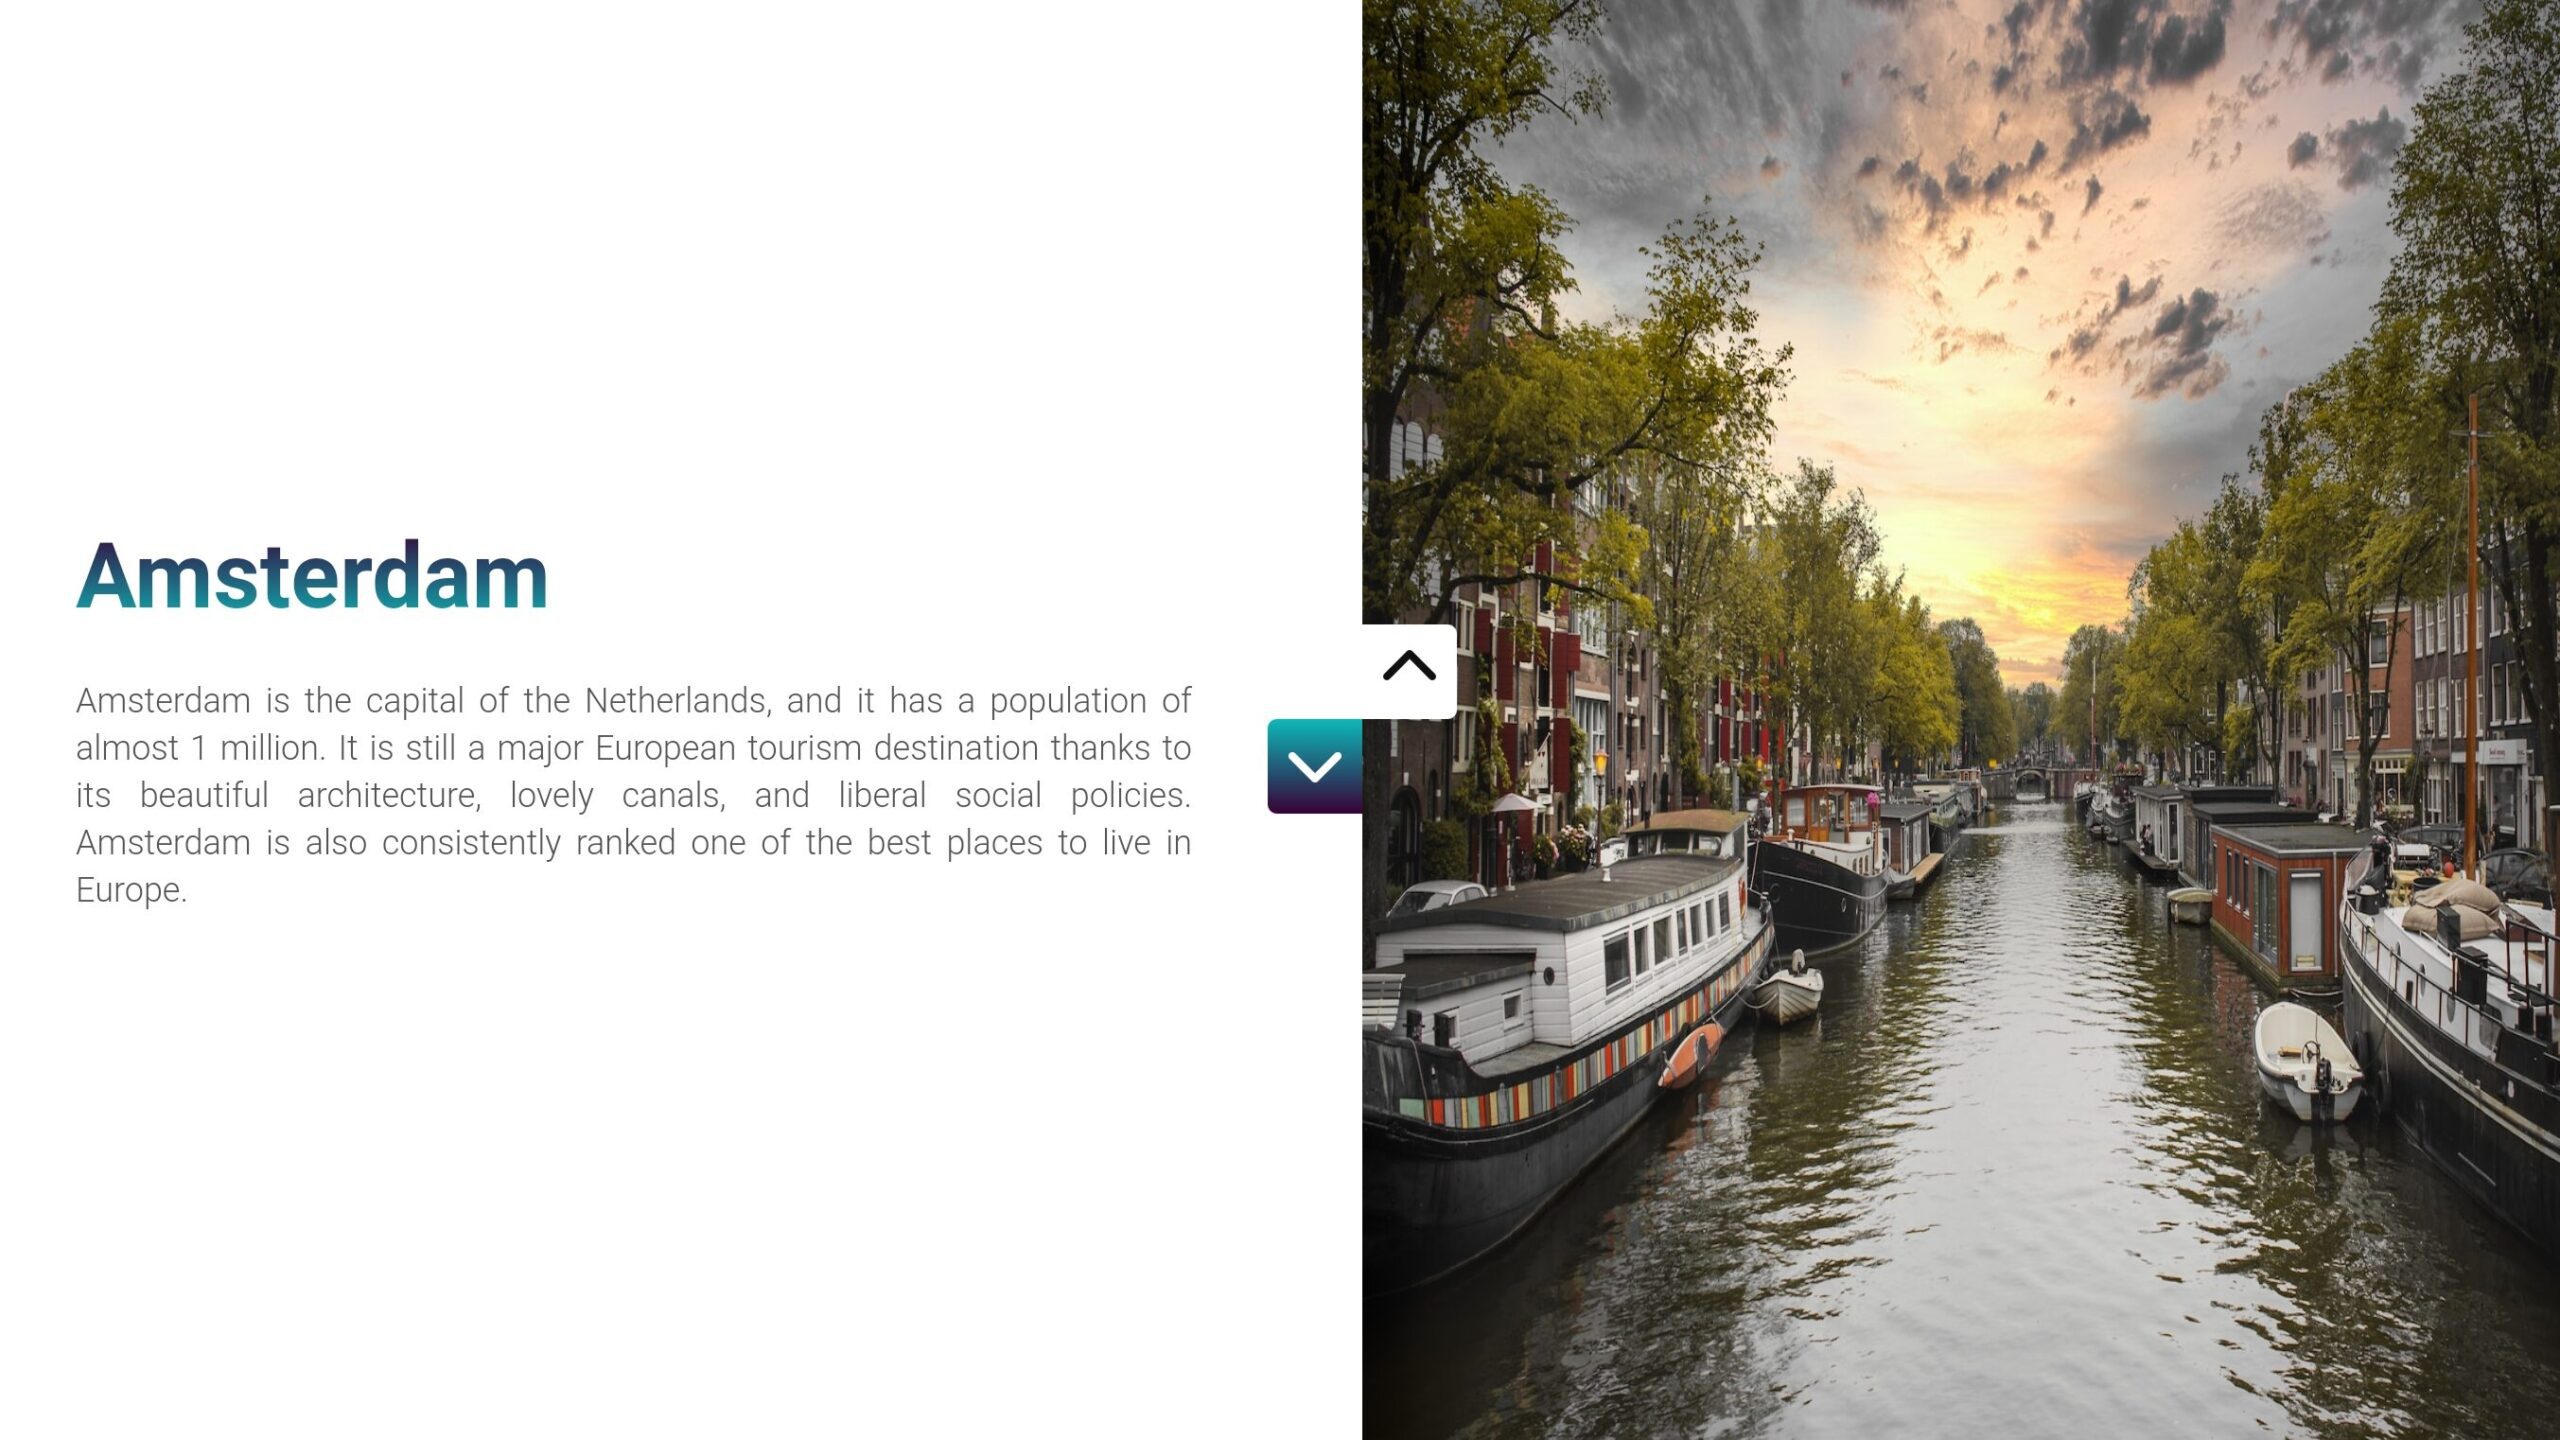
                    <h2>Amsterdam</h2>
                    <p>
                        Amsterdam is the capital of the Netherlands, and it has a
                        population of almost 1 million. It is still a major European
                        tourism destination thanks to its beautiful architecture, lovely
                        canals, and liberal social policies. Amsterdam is also
                        consistently ranked one of the best places to live in Europe.
                    </p>
                </div>

                <div>
                    <h2>Rome</h2>
                    <p>
                        Rome is the capital city of Italy, with a population of 4 million
                        residents. It has an immensely rich historical heritage and
                        cosmopolitan atmosphere, making it one of Europe's and the world's
                        most visited, famous, influential, and beautiful capitals. Rome
                        also has wonderful palaces, thousand-year-old churches and
                        basilicas, grand romantic ruins, opulent monuments, ornate
                        statues, and graceful fountains.
                    </p>
                </div>
            </div>
            <div class="right">
                <div>
                    <img src="https://github.com/ecemgo/frontend-mentor-all-in-one/assets/13468728/f3089615-68aa-48bd-8184-97881b7f8d85"
                        alt="rome" />
                </div>

                <div>
                    <img src="https://github.com/ecemgo/frontend-mentor-all-in-one/assets/13468728/c6cee1ff-5c41-447e-be06-06388b87b538"
                        alt="amsterdam" />
                </div>

                <div>
                    <img src="https://github.com/ecemgo/frontend-mentor-all-in-one/assets/13468728/f879e848-c8dd-4ebd-876c-c07c8758107c"
                        alt="istanbul" />
                </div>

                <div>
                    <img src="https://github.com/ecemgo/frontend-mentor-all-in-one/assets/13468728/d0cb0774-5b2a-46d8-9575-8b6dc9f97583"
                        alt="paris" />
                </div>

                <div>
                    <img src="https://github.com/ecemgo/frontend-mentor-all-in-one/assets/13468728/a3c768a5-71d4-404c-82d7-6535f59f2098"
                        alt="london" />
                </div>
            </div>
        </div>
    </div>
</body>
</html>
Step 3: Styling with CSS
Proceed to style.css and copy the provided CSS code. This code is responsible for the layout and visual appeal of the image slider. Feel free to customize the styles to match your project’s aesthetics.
@import url("https://fonts.googleapis.com/css2?family=Roboto:wght@100;300;400;500;700;900&display=swap");

        * {
            margin: 0;
            padding: 0;
            box-sizing: border-box;
        }

        body {
            font-family: "Roboto", sans-serif;
        }

        .slider {
            width: 100%;
            height: 100vh;
        }

        .slider .controls {
            position: absolute;
            top: 50%;
            left: 50%;
            transform: translate(-50%, -50%);
            width: 100px;
            height: 100px;
            z-index: 2;
        }

        .slider .controls>div {
            position: absolute;
            width: 50px;
            height: 50px;
            text-align: center;
            line-height: 50px;
            font-size: 2rem;
            cursor: pointer;
            transition: all 0.2s ease-in-out;
        }

        .slider .controls>.up:active {
            transform: translateY(-10px);
        }

        .slider .controls>.down:active {
            transform: translateY(10px);
        }

        .slider .controls>.up {
            top: 0px;
            right: 0px;
            background: #fff;
            color: #111;
            border-radius: 0 5px 5px 0;
        }

        .slider .controls>.down {
            bottom: 0px;
            left: 0px;
            background: linear-gradient(#0cbaba, #380036);
            color: #fff;
            border-radius: 5px 0 0 5px;
        }

        .slider .wrapper {
            width: 100%;
            height: 100%;
            display: flex;
        }

        .slider .wrapper .left,
        .slider .wrapper .right {
            width: 50%;
            overflow: hidden;
        }

        .slider .wrapper .left>div,
        .slider .wrapper .right>div {
            width: 100%;
            height: 100%;
            transition: all 0.5s ease-in-out;
        }

        .slider .wrapper .left>div {
            display: flex;
            flex-direction: column;
            justify-content: center;
            padding: 0px 90px 0px 40px;
        }

        .slider .wrapper .left>div h2 {
            font-size: 3rem;
            font-weight: 700;
            margin-bottom: 25px;
            background: -webkit-linear-gradient(90deg, #0cbaba, #380036);
            background-clip: text;
            -webkit-background-clip: text;
            color: transparent;
            -webkit-text-fill-color: transparent;
        }

        .slider .wrapper .left>div p {
            font-size: 1.125rem;
            font-weight: 300;
            line-height: 25px;
            color: #555;
            text-align: justify;
        }

        .slider .wrapper .right>div img {
            width: 100%;
            height: 100%;
            object-fit: obtain;
        }

        .slider .wrapper .right div:nth-child(1) {
            margin-top: -400vh;
        }
Step 4: JavaScript Functionality
In script.js, copy the JavaScript code. This code handles the logic for navigating through the image slides. It listens for clicks on the up and down arrow buttons, smoothly transitioning between slides.
        let slider = document.querySelector(".slider");
        let currentSlide = 0;
        let totalSlides = slider.querySelectorAll(".wrapper .left > div").length - 1;

        slider.querySelector(".controls .up").addEventListener("click", function () {
            if (currentSlide == 0) {
                return;
            }
            currentSlide--;
            slider.querySelector(".wrapper .left div").style.marginTop = `${currentSlide * -100
                }vh`;
            slider.querySelector(".wrapper .right div").style.marginTop = `${(totalSlides - currentSlide) * -100
                }vh`;
        });

        slider.querySelector(".controls .down").addEventListener("click", function () {
            if (currentSlide == totalSlides) {
                return;
            }
            currentSlide++;
            slider.querySelector(".wrapper .left div").style.marginTop = `${currentSlide * -100
                }vh`;
            slider.querySelector(".wrapper .right div").style.marginTop = `${(totalSlides - currentSlide) * -100
                }vh`;
        });
Conclusion:
Congratulations! You’ve just set up the Simplest Image Sliders on your website. This project not only enhances your understanding of JavaScript but also adds an engaging feature to your web pages. Remember, web development is about exploring, experimenting, and enjoying the journey of creating something impactful.
Now that your image slider is up and running, feel free to experiment further. Tweak the code, add more images, or customize the styles to match your website’s theme. Happy coding, and may your projects shine with creativity!
For your convenience, the total source code of this “Simplest Image Sliders” project instructional practice is accessible for download by clicking the Download Code button.
Join Our Telegram Channel to Download the Project Source Code: Click Here
Note: Keep in mind that the way to dominate coding is practice. To enhance your skills in JavaScript, HTML & CSS, we recommend recreating other useful website elements such as Custom Button, Reviews Card, Contact Page, Navigation, Login Forms, etc.
More Categories:
Blog • Cards • Fun Project • Game • Hamburger Menu • Login / Signup • Navbar • Testimony / Reviews • To-Do List


