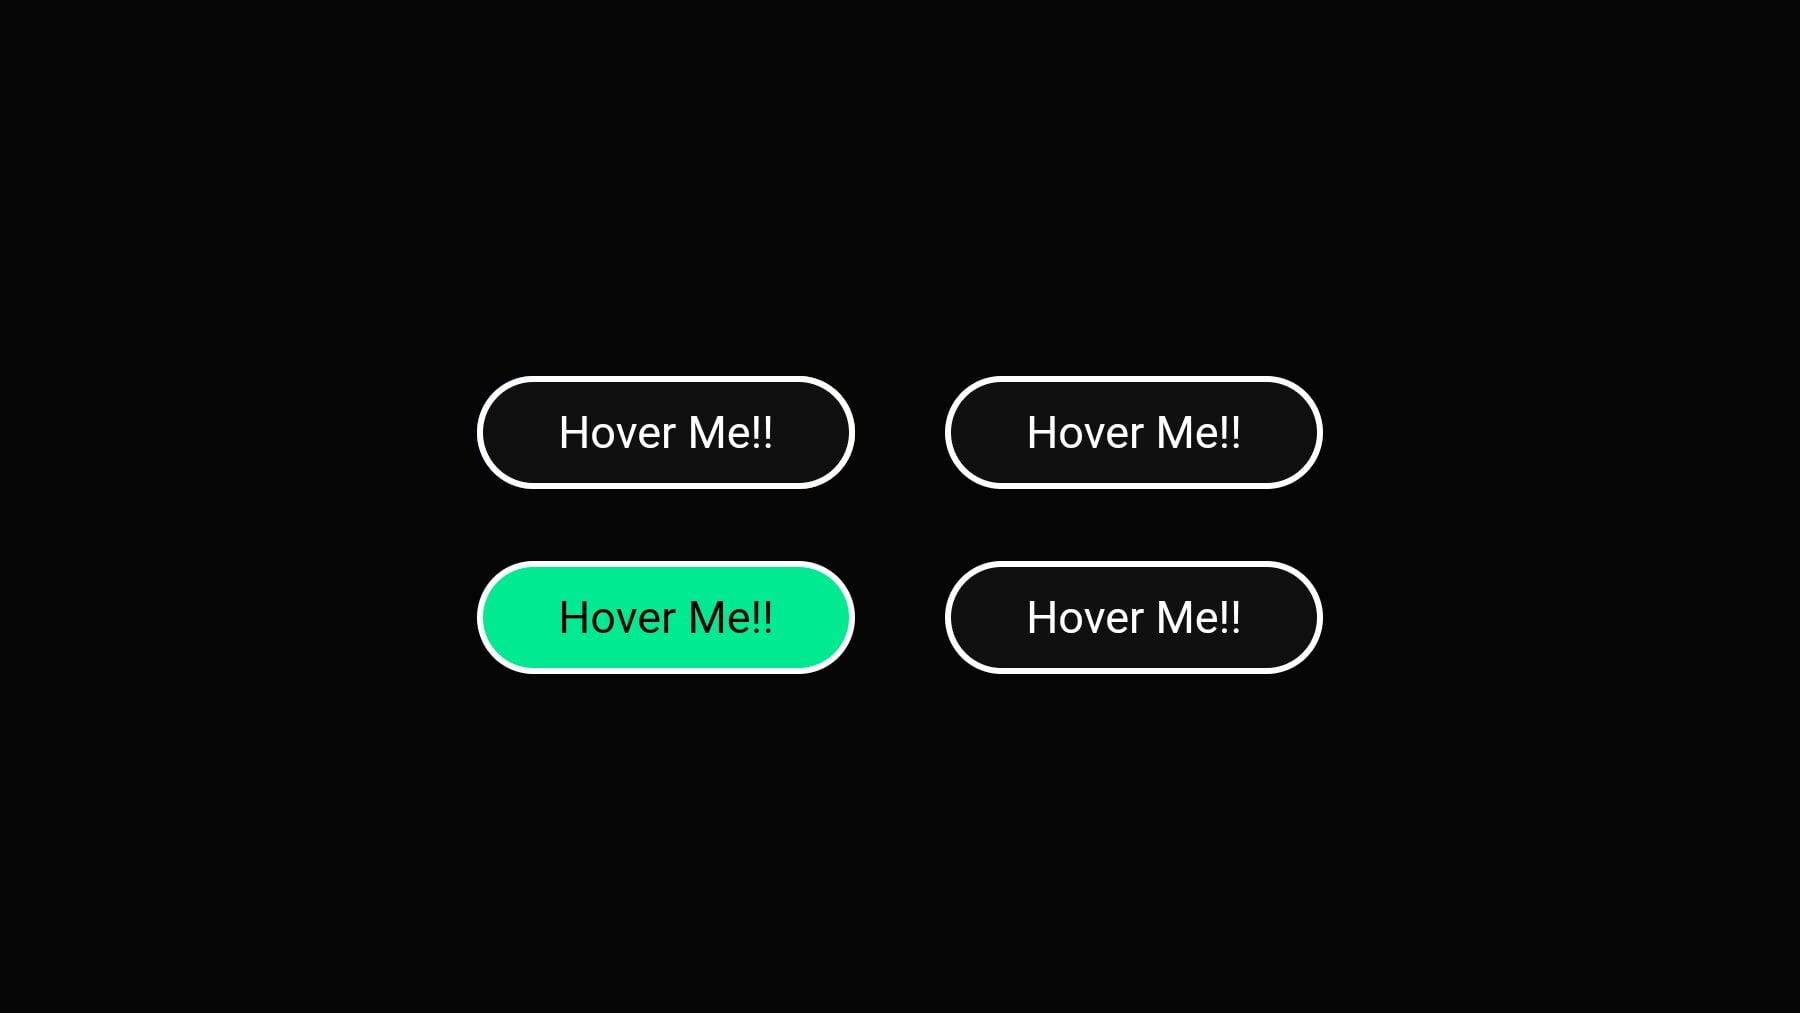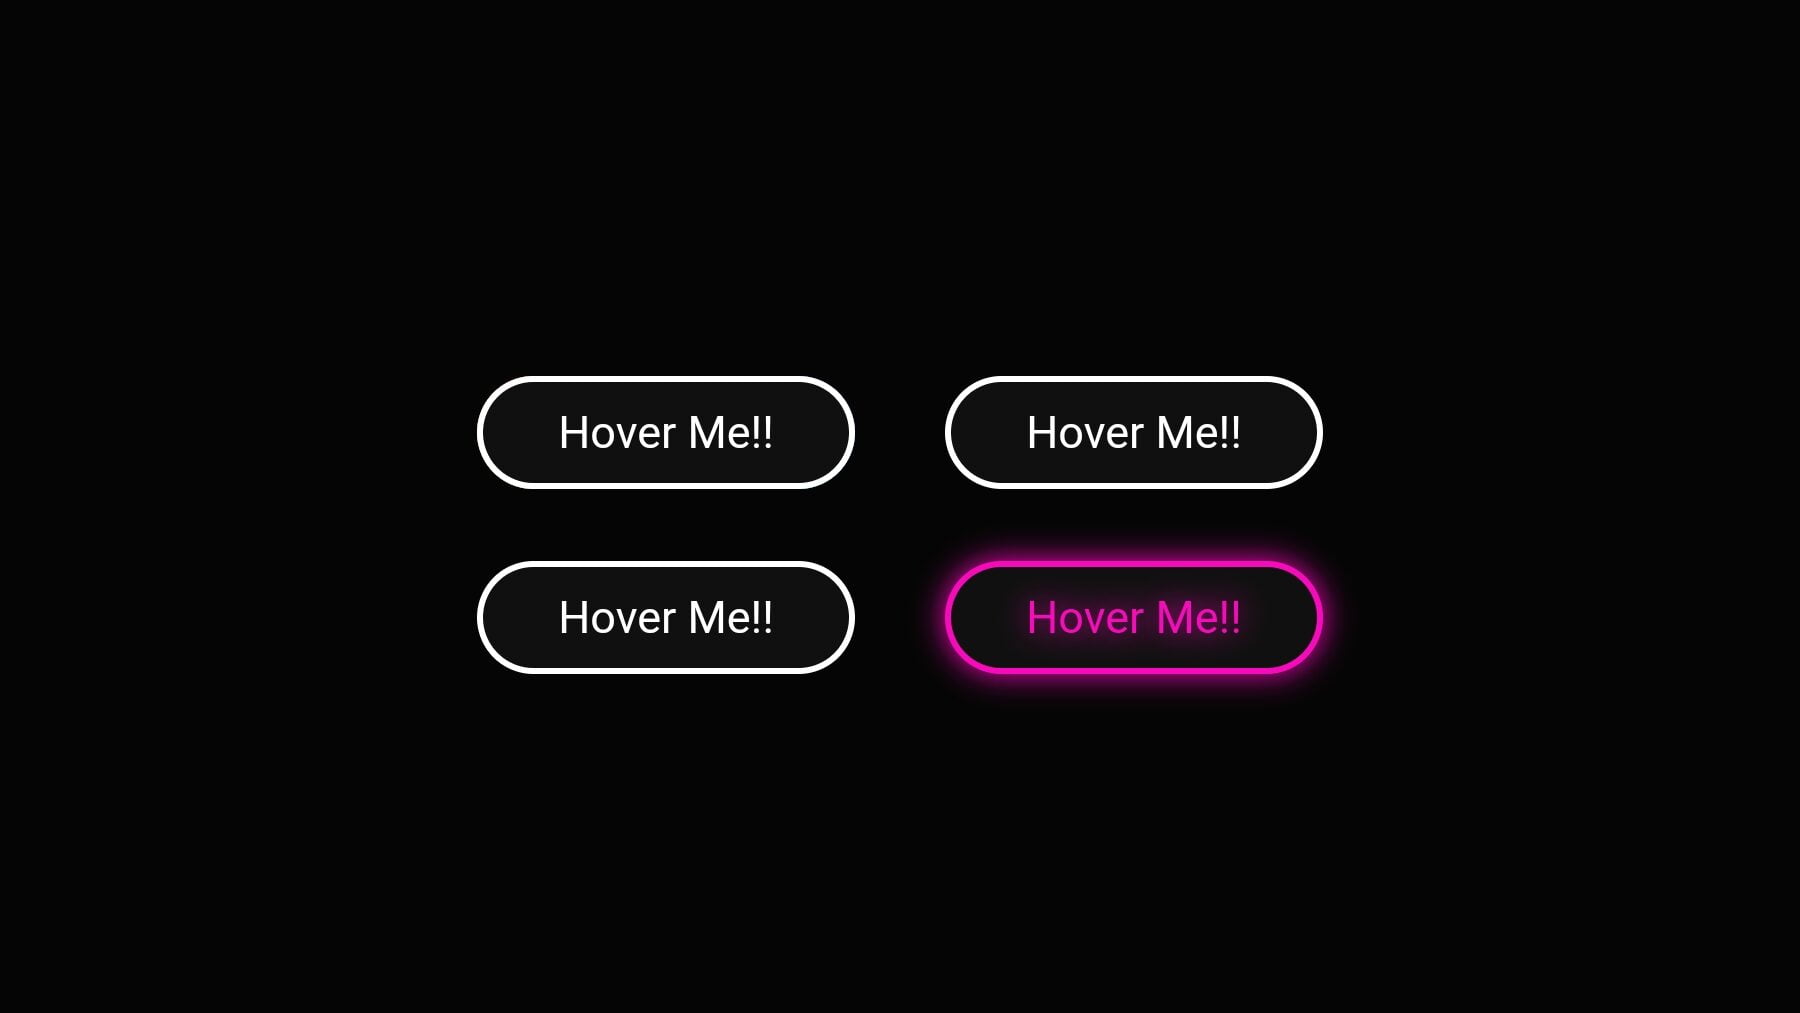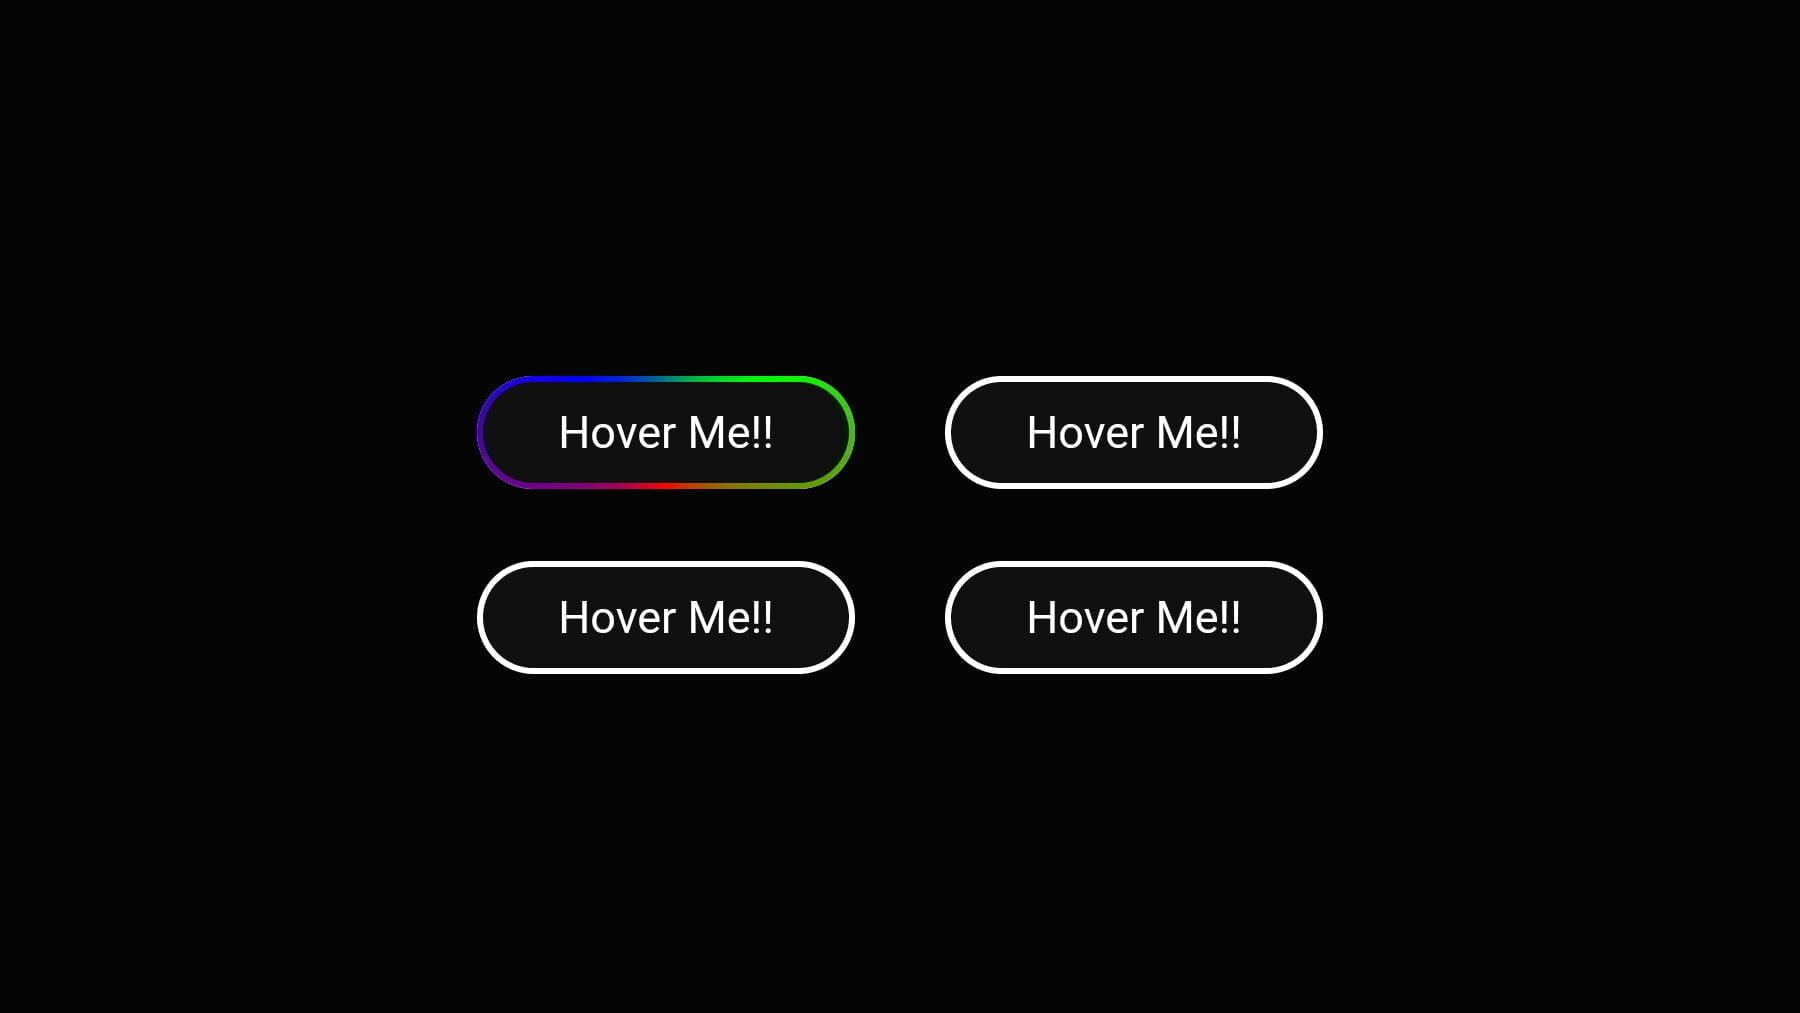


Introduction: Custom Animated Button in JavaScript
Elevating your website’s user experience through captivating design elements is a hallmark of modern web development. One such dynamic addition is a custom animated button in JavaScript, HTML, and CSS. These buttons breathe life into your web interface, engaging visitors and prompting interaction with a touch of creativity.
In this tutorial, we’ll delve into the step-by-step process of creating these mesmerizing buttons. Through simple HTML structuring, CSS styling, and JavaScript animation, you’ll learn to infuse your web projects with interactive elements that entice and engage. Follow along as we unlock the secrets behind crafting these visually appealing and functionally dynamic buttons.
Steps to Create Custom Animated Button
To embark on this project and infuse life into your buttons, meticulously follow these steps:
Create a folder structure with three essential files: index.html, style.css, and script.js. These files will serve as the canvas for your custom animated button.
Step 1: Build the HTML Structure
Begin with the HTML markup in your index.html file. Design a button group using simple button elements encapsulating the desired text or content you wish to animate.
<!DOCTYPE html>
<!-- How to create Create Responsive Custom Animated Button in JavaScript HTML CSS -->

<html lang="en">
<head>
    <meta charset="UTF-8">
    <meta name="viewport" content="width=device-width, initial-scale=1.0">
    <title>button Hover Effects</title>
</head>

<body>
    <div class="button-group">
        <button class="button">
            <div class="effect-wrapper"></div>
            <span class="text-content">Hover Me!!</span>
        </button>
        <button class="button">
            <div class="effect-wrapper"></div>
            <span class="text-content">Hover Me!!</span>
        </button>
        <button class="button">
            <div class="effect-wrapper"></div>
            <span class="text-content">Hover Me!!</span>
        </button>
        <button class="button">
            <div class="effect-wrapper"></div>
            <span class="text-content">Hover Me!!</span>
        </button>
    </div>
</body>
</html>
Step 2: Style the Elements with CSS
Leverage the style.css file to infuse style into your button elements. Define the button’s dimensions, colors, and initial states. Use CSS animations and transitions to breathe life into your buttons, making them visually appealing and interactive.
        body {
            height: 100vh;
            margin: 0rem;
            background-color: #000000fa;
            display: grid;
            place-items: center;
        }

        .button-group {
            display: grid;
            grid-template-columns: 1fr 1fr;
            gap: 4vmin 5vmin;
        }

        .button {
            width: clamp(40px, 21vw, 15rem);
            aspect-ratio: 10 / 3;
            border: none;
            border-radius: 5rem;
            background-color: white;
            cursor: pointer;
            overflow: hidden;
            position: relative;
        }

        .effect-wrapper {
            --deg: 0deg;
            position: absolute;
            width: 100%;
            height: 100%;
            inset: 0px;
        }

        .button::before {
            content: "";
            background-color: #101010;
            position: absolute;
            inset: 3px;
            border-radius: inherit;
            width: calc(100% - 6px);
            height: calc(100% - 6px);
            transition: background-color 250ms ease-out;
            z-index: 3;
        }

        .button::after {
            content: "";
            width: 100%;
            height: 100%;
            position: absolute;
            inset: 0px;
        }

        .effect-wrapper::before,
        .effect-wrapper::after {
            content: "";
            position: absolute;
            width: 100%;
            height: 100%;
            inset: 0px;
        }

        .text-content {
            width: 100%;
            height: 100%;
            position: absolute;
            inset: 0px;
            display: grid;
            place-items: center;
            color: white;
            font-size: clamp(10px, 2.5vw, 2rem);
            z-index: 4;
        }

        .button:nth-child(1)::after {
            scale: 5;
            animation: rotate 1s linear infinite;
            background: conic-gradient(red, blue, lime, red);
            z-index: 1;
        }

        .button:nth-child(1) .effect-wrapper::before {
            background: conic-gradient(transparent var(--deg), white 0deg);
            z-index: 2;
        }

        .button:nth-child(2)::after,
        .button:nth-child(2) .effect-wrapper::before,
        .button:nth-child(2) .effect-wrapper::after {
            scale: 2;
            border-radius: 100%;
            z-index: 3;
        }

        .button:nth-child(2)::after {
            background-color: rgb(0, 255, 0);
            transform: translateY(155%);
            transition: transform 1s cubic-bezier(.22, .62, .38, .78);
        }

        .button:nth-child(2) .effect-wrapper::before {
            background-color: rgb(255, 217, 0);
            transform: translateY(75%);
            transition: transform 1s cubic-bezier(.22, .62, .38, .78);
        }

        .button:nth-child(2) .effect-wrapper::after {
            background-color: rgb(128, 0, 96);
            transform: translateY(115%);
            transition: transform 1s cubic-bezier(.22, .62, .38, .78);
        }

        .button:nth-child(2):hover::after,
        .button:nth-child(2):hover .effect-wrapper::before,
        .button:nth-child(2):hover .effect-wrapper::after {
            transform: translateY(0%);
        }

        .button:nth-child(3):hover .text-content {
            color: black;
        }

        .button:nth-child(3):hover::before {
            background-color: rgb(0, 235, 145);
        }

        .button:nth-child(4),
        .text-content {
            transition: all 250ms ease-out;
        }

        .button:nth-child(4):hover {
            background-color: #fa08bd;
            box-shadow: 0px 0px 15px #fa08bd;
        }

        .button:nth-child(4):hover .text-content {
            color: #fa08bd;
            text-shadow: 0px 0px 15px #fa08bd;
        }

        @keyframes rotate {
            from {
                transform: rotate(0deg);
            }

            to {
                transform: rotate(360deg);
            }
        }
Step 3: Implement Button Animations with JavaScript
Embed JavaScript functionality into your script.js file. Employ JavaScript to orchestrate hover effects, transitions, and animations for your buttons. This file acts as the conductor, orchestrating the visual symphony of your button animations.
        const rainbow = document.querySelectorAll(".effect-wrapper")[0],
            button1 = document.querySelectorAll(".button")[0];
        var ids = [0, 0];

        button1.onmouseenter = () => {
            ids.forEach(id => clearInterval(id));

            var d = rainbow.style.getPropertyValue("--deg"),
                time = d == "" ? 0 : Math.floor(parseInt(d) / 6);

            ids[0] = setInterval(() => {
                var deg = time;

                if (time === 61) {
                    clearInterval(ids[0]);

                } else if (time <= 30) {
                    deg = (deg * deg) / 5;

                    rainbow.style.setProperty("--deg", `${deg}deg`);

                } else if (time > 30) {
                    deg = ((deg * -deg) / 5) + (deg * 24) - 360;

                    rainbow.style.setProperty("--deg", `${deg}deg`);
                }

                time++;
            });
        }

        button1.onmouseleave = () => {
            ids.forEach(id => clearInterval(id));

            var time = Math.floor(parseInt(rainbow.style.getPropertyValue("--deg")) / 6);

            ids[1] = setInterval(() => {
                var deg = time;

                if (time === 0) {
                    clearInterval(ids[1]);

                } else if (time <= 30) {
                    deg = (deg * deg) / 5;

                    rainbow.style.setProperty("--deg", `${deg}deg`);

                } else if (time > 30) {
                    deg = ((deg * -deg) / 5) + (deg * 24) - 360;

                    rainbow.style.setProperty("--deg", `${deg}deg`);
                }

                time--;
            });
        }
Conclusion:
In the realm of web development, the amalgamation of JavaScript, HTML, and CSS fosters endless possibilities. Through this tutorial, you’ve unlocked the secrets to create a captivating Create Responsive Custom Animated Button in JavaScript. Experiment, tweak, and explore further to craft innovative buttons that enhance user experience on your web projects.
Wrapping Up:
Now equipped with the knowledge and framework, unleash your creativity and tailor these learnings to suit your unique projects. Feel free to download the source code of this custom animated button project to explore, learn, and further innovate. Dive into the world of front-end development armed with the skills to bring delightful interactivity to your web pages. Happy coding!
For your benefit, the total source code of this instructional exercise is accessible for download by clicking the Download Code button. Moreover, experience a live exhibit of these Custom Animated Button in JavaScript by getting to the View Live button.
Note: Keep in mind that the way to dominate coding is practice. To enhance your skills in JavaScript, HTML & CSS, we recommend recreating other useful website elements such as Reviews Card, Contact Page, Navigation, Login Forms, etc.
More Categories:
Blog • Cards • Fun Project • Game • Hamburger Menu • Login / Signup • Navbar • Testimony / Reviews • To-Do List


